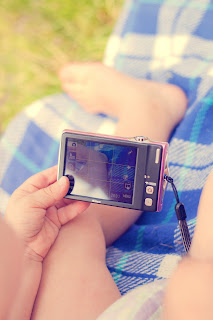
Here are the photos unedited:
Nothing (imo) much wrong with the photos I just wanted a little touch up though.
Here is the first one edited:
And here is what I did, the layers run from bottom to top like this:
- Background (no editing done on this layer)
- Ctrl J to duplicate background (you don't have to do this but I like a back up duplicate incase little fingers decide to go editing without me knowing, when you have finished and are happy you are more than welcome to delete this layer or just keep it in)
- Photo Filter (Warming Filter 81) 50% Density, preserve luminosity, 75% opacity
- Colour Fill - colour blue (1a2274), Exclusion blending mode, Opacity to taste but in this case I used 75%
- Ctrl J on original background layer and move to top, 33% but this is down to taste and then you can use this layer for any dodging, burning, sponge to taste.
- Levels Adjustment Layer From right to left 23 - 1.14 - 229 and for Output 19-255
- I then saved the PSE 10 document and online opened up the JPEG version in the website picmonkey where I used the Burst (vibrant) icon on 14% to add just a little vibrancy to the shot. Then saved at the largest size I could.
And here is the second photo edited:
It is edited identically to the first apart from the Colour Fill layer where it is 52% opacity.
And that is it, nothing major but to me makes the photos more to my liking.


